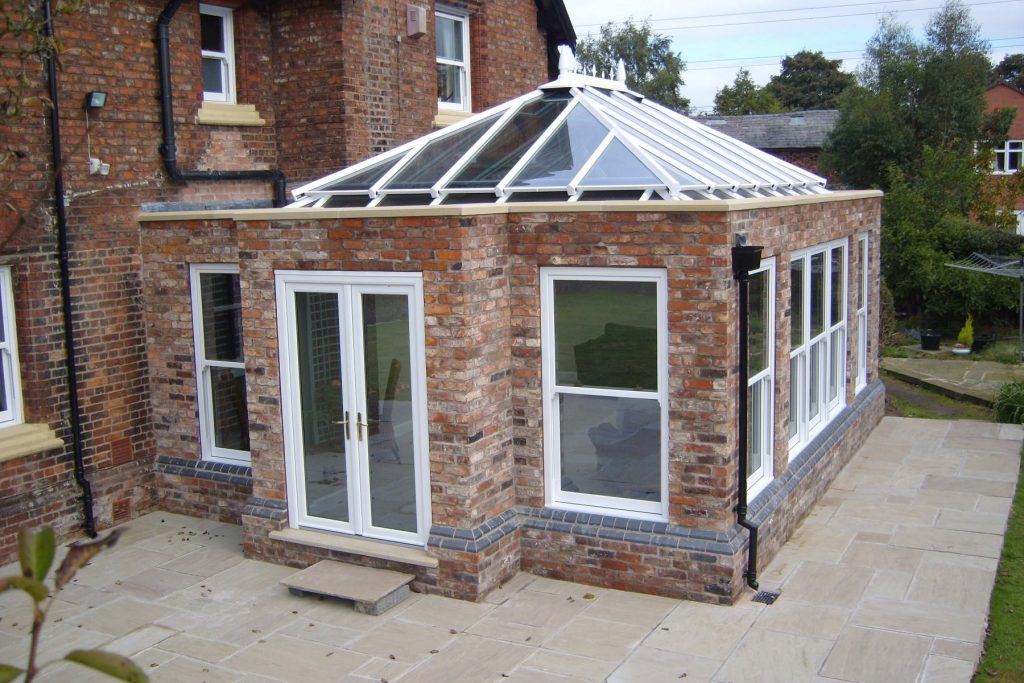
Ultraroof Installation Guide
Novaseal has put together a conservatory roof installation guide which will give you step by step information to ensure a smooth process. Ultraroof is a tiled conservatory roof, and this guide will give you the right information on the best steps to take when installing. A replacement conservatory roof is no easy task. Therefore make sure you have gathered up information that will help you, along with this guide, to give you a smooth installation process.
Tools and Equipment
To make sure the installation process goes as smoothly as possible, we recommend that you have these tools and equipment on hand to use:
- Clamps
- 2.5mm straight edge
- 8mm hex head socket
- 10mm and 17mm spanner
- Tape measure
- Staple gun
- 6mm drill bit
- Drill/impact screwdriver
- Plump bob and string line
- Small scaffold tower and Youngman boards
- Long (1,500mm) and short spirit levels
- Heat gun
- Acro prop
Step 1 – Preparation
You will need to be prepared to ensure that the installation goes smoothly. Make sure the measurements you have are accurate and correct to the conservatory roof installation you will be doing. Also, make sure that there are no obstructions in the way. The previous roof will need to be taken down for a new Ultraframe conservatory roof to be installed.
Step 2 – Installation
Box Beams
Firstly, you will need to secure supporting shelves to the existing build to ensure that the new roof will have the right support. Drill the supporting shelves into each corner of the build.
Once you have done this, you can place the box beam on top of these shelves. Double check the beam is level and do the same on the other side. Having installed the side beam, you can lift the third beam into place, which will connect all three beams together.
If you are happy with the placement of the beams, drill them into place and check the brackets are holding beams one and two securely to the wall.
Structural Framework
Attach the main aluminium beam to the bracket on the wall and support this beam with adjustable support props. These props must stay in place until it is fully built to support the new conservatory roof while it is being installed.
At the end of this beam, you will have a connection to where the other beams will slot into place. Not all conservatory roofs are the same so this will vary on the design. Slot the remaining beams into this connection from each corner of the existing conservatory.
Panel Assembly
After all the aluminium beams have been secured into place, the conservatory roof will have a strong structural framework. Next, you will need to install the SIP panels, which will slot in between the beams that are already in place. Screw the panels in place from the inside through the support panels ledge.
Next, cut and fit the insulation into the ridge sections where the panels wouldn’t have reached. The insulation will go on top of the aluminium supporting beams. This will ensure that the conservatory roof will be thermally efficient.
Fit the panels onto the conservatory roof one at a time going from left to right. Then fit the aluminium ridge cover plate on top of the panels and drill to secure it in place.
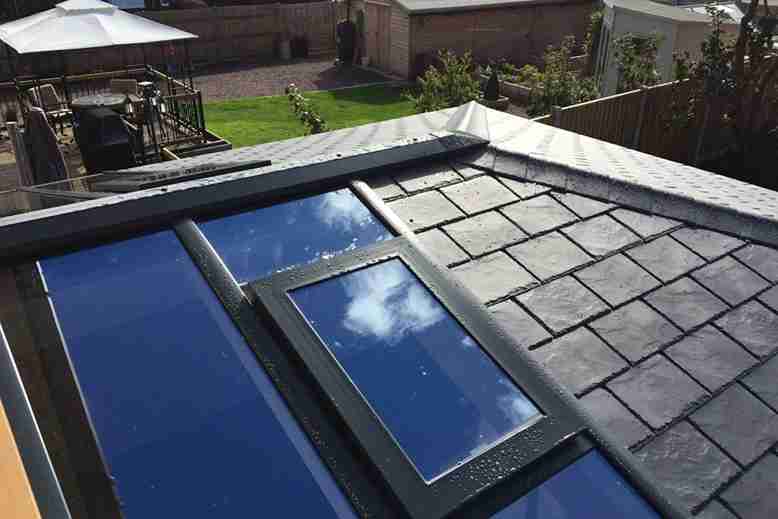
Waterproof Underlayer
Cover the conservatory roof in the waterproof underlayer and trim it to the right size. Start laying from the bottom and work up the roof. Make sure you overlap the waterproof underlay slightly with the previous layer. Ensure you also cover the aluminium ridges.
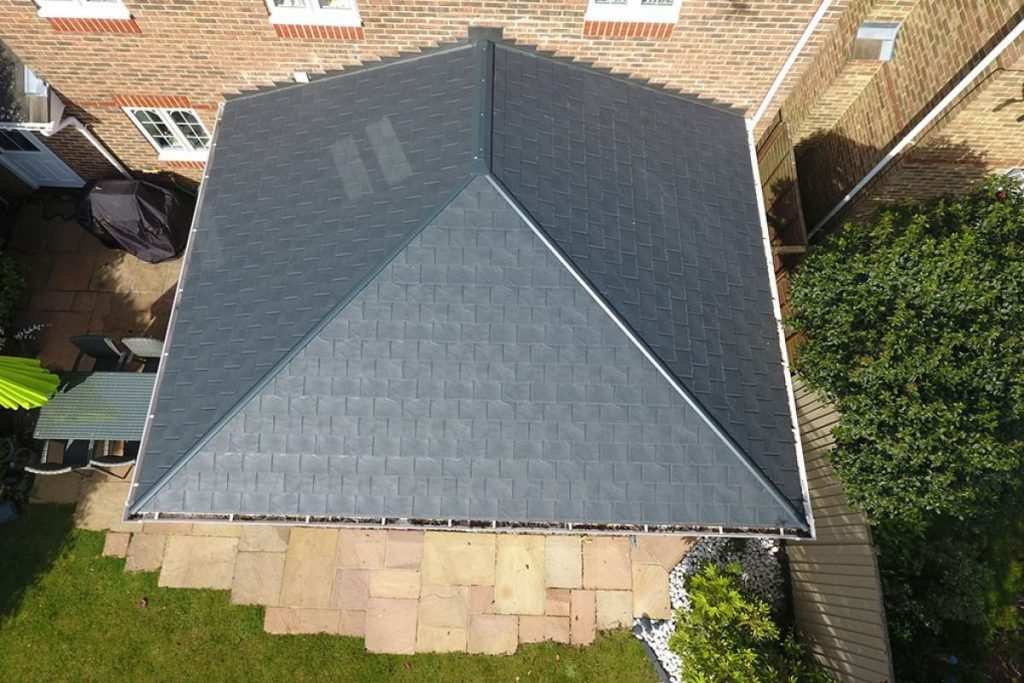
Tiling
After you have completed all the other steps, you will now be able to tile the conservatory roof. Start tiling from the conservatory roof side that faces the front. Lay the tiles from left to right, bottom to top. Once you have completed the front face, you can repeat on the rest of the sections.
Once you have completed the tiling of the roof, you can fix the ridge top cap. Ensure that the top cap is aligned properly and drill securely in place. Finally, your conservatory roof installation will be complete.
Step 3 – Cleaning up
Once the conservatory roof is fitted and you are happy with the result, make sure you clean up all your tools and equipment used. Also, take any rubbish that you might have with you and ensure the property is left tidy. This is important as you are setting a good example after you have finished the installation.
 Contact Novaseal
 Contact Novaseal
 We supply high quality conservatory roofs manufactured by Ultraframe, which means you will be getting market-leading products with excellent standards. Ultraframe creates extremely durable products that are secure and thermally efficient.
Start your conservatory roof quote today by using our online quoting engine, and we will get back to you. We have an online contact form that you can use, and one of our team members will be in touch with you as soon as possible. Alternatively, call the Novaseal team today on 01329 233500 to get more information on the conservatory roofs we supply.